In the previous posts, I introduced overlay mesh networks and demonstrated how I set up my first Tailscale VPN account, connected devices to my Tailnet, and tested connectivity between peers including troubleshooting direct versus relayed connections. You can find links to the previous posts at the end of this page. In this post, I will detail the process of setting up a NetBird free account and the basics of using the NetBird VPN.
General Procedure for Setting Up NetBird VPN
The overall setup procedure for NetBird VPN is quite similar to that of Tailscale. Generally, it involves three main steps:
- Create an account on NetBird
- Install the NetBird client on at least two hosts
- Test connectivity between your devices
As described earlier in the introduction to overlay mesh networks, NetBird is an open-source platform for creating secure mesh networks using WireGuard VPN technology with built-in fine-grained access control.
For this guide, I’ll keep the setup simple and secure. My goal is to manage a web server instance hosted in the cloud through a secure tunnel without exposing any ports or consuming additional public IP addresses for remote management.
The configuration involves:
- One Linux server hosted in the cloud with a private IP address behind a NAT gateway and firewall
- One remote laptop connected to a 4G wireless network
The objective is to securely manage the cloud-hosted Linux server from my laptop without configuring any complex VPN or network settings on the cloud side.
Creating an Account on NetBird
Just like Tailscale, NetBird offers a generous “Free Forever” plan for individuals or small teams, allowing up to 100 devices and 5 users more than sufficient for this demonstration and personal use.
To begin, I go to https://netbird.io/pricing and select the Free Plan to get started.

It asks me to choose a preferred Single Sign-On (SSO) provider. I proceed with my Google account for this demonstration.

After completing the authentication and authorization process, I’m directed to the welcome page with a few initial questions.
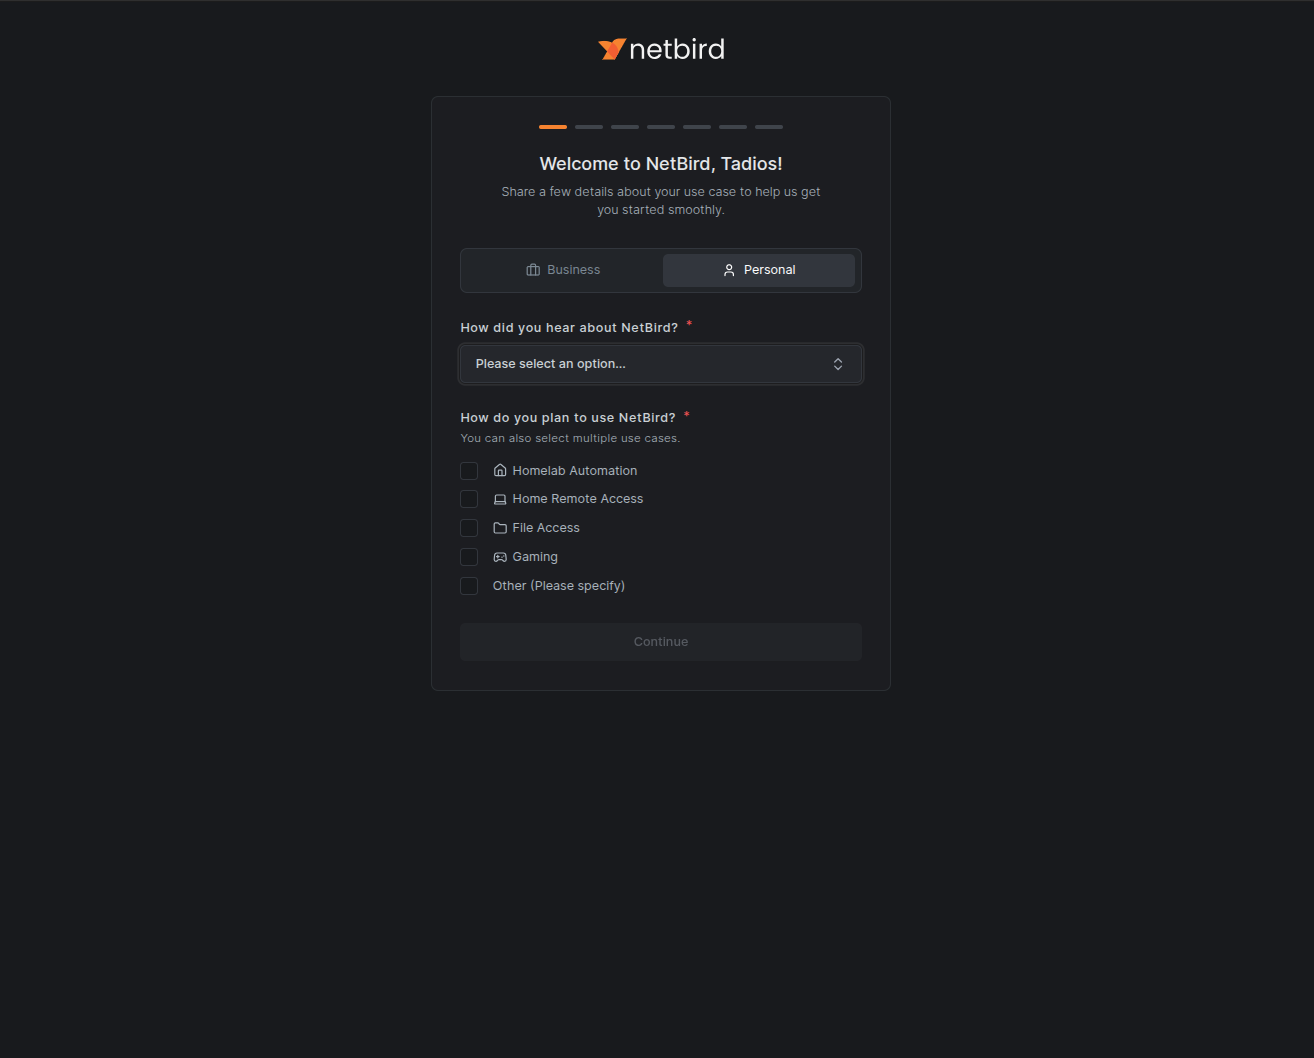
On the welcome page, NetBird asks how I’d like to get started with a choice between Peer-to-Peer Network or Remote Network Access. For this post, I select Peer-to-Peer Network.

Installing the NetBird Client on My Devices
With my NetBird account created, I can begin enrolling my devices. I’ll start by adding my cloud web server instance using the installation script provided on the page, and then do the same for my remote computer.
curl -fsSL https://pkgs.netbird.io/install.sh | sh
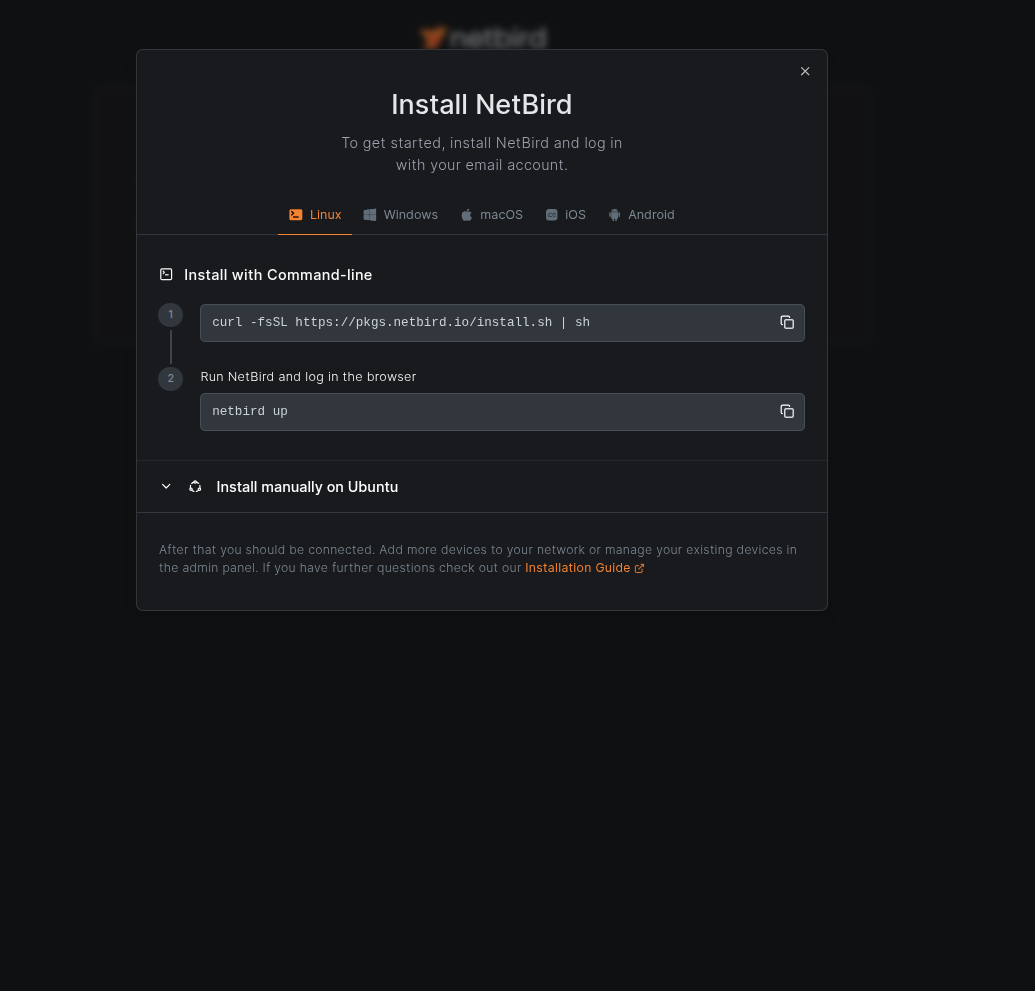
Once the installation finishes, I execute the following command on both devices to connect them to my NetBird network:
netbird up
This command provides a URL for authentication. I open the URL in my browser and complete the sign-in process using my SSO provider.
At this point, both devices are connected to my NetBird network. Returning to the NetBird web console confirms that both devices are detected, and the system asks me to test connectivity by running:
ping 100.71.227.141
from my web server.
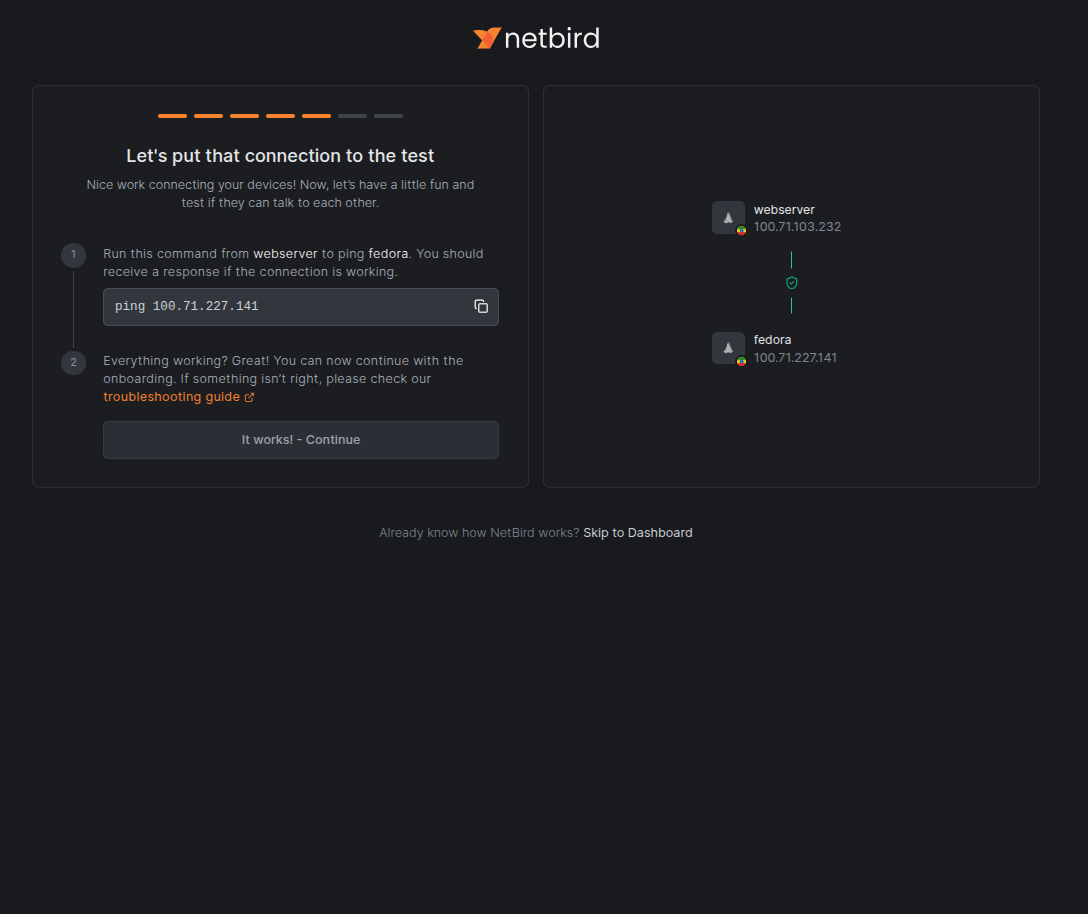
When I ping my Fedora remote computer from my cloud web server, I receive the following results, confirming successful communication:
root@webserver:~$ ping 100.71.227.141
PING 100.71.227.141 (100.71.227.141) 56(84) bytes of data.
64 bytes from 100.71.227.141: icmp_seq=1 ttl=64 time=375 ms
64 bytes from 100.71.227.141: icmp_seq=2 ttl=64 time=944 ms
64 bytes from 100.71.227.141: icmp_seq=3 ttl=64 time=1578 ms
64 bytes from 100.71.227.141: icmp_seq=4 ttl=64 time=1018 ms
64 bytes from 100.71.227.141: icmp_seq=5 ttl=64 time=491 ms
64 bytes from 100.71.227.141: icmp_seq=6 ttl=64 time=300 ms
64 bytes from 100.71.227.141: icmp_seq=7 ttl=64 time=486 ms
--- 100.71.227.141 ping statistics ---
7 packets transmitted, 7 received, 0% packet loss, time 6059ms
rtt min/avg/max/mdev = 299.997/741.771/1578.221/426.653 ms, pipe 2
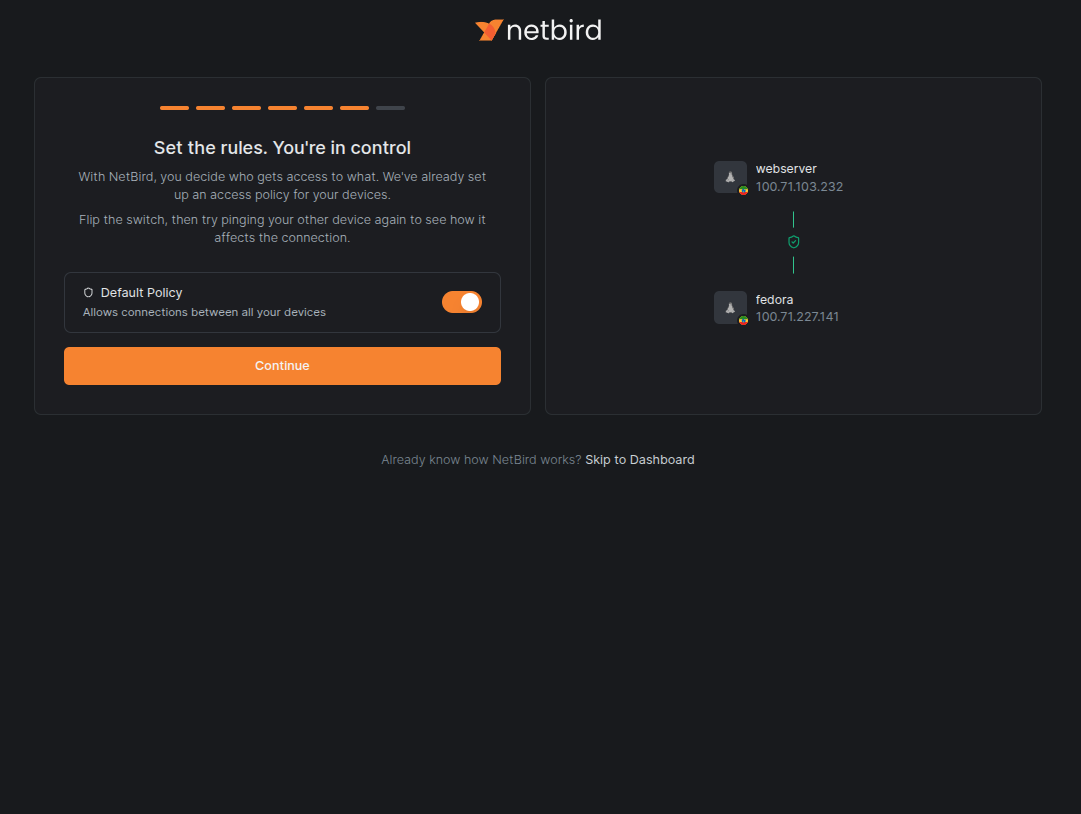
The next screen shows that the default access policy is enabled, allowing connections between all devices.
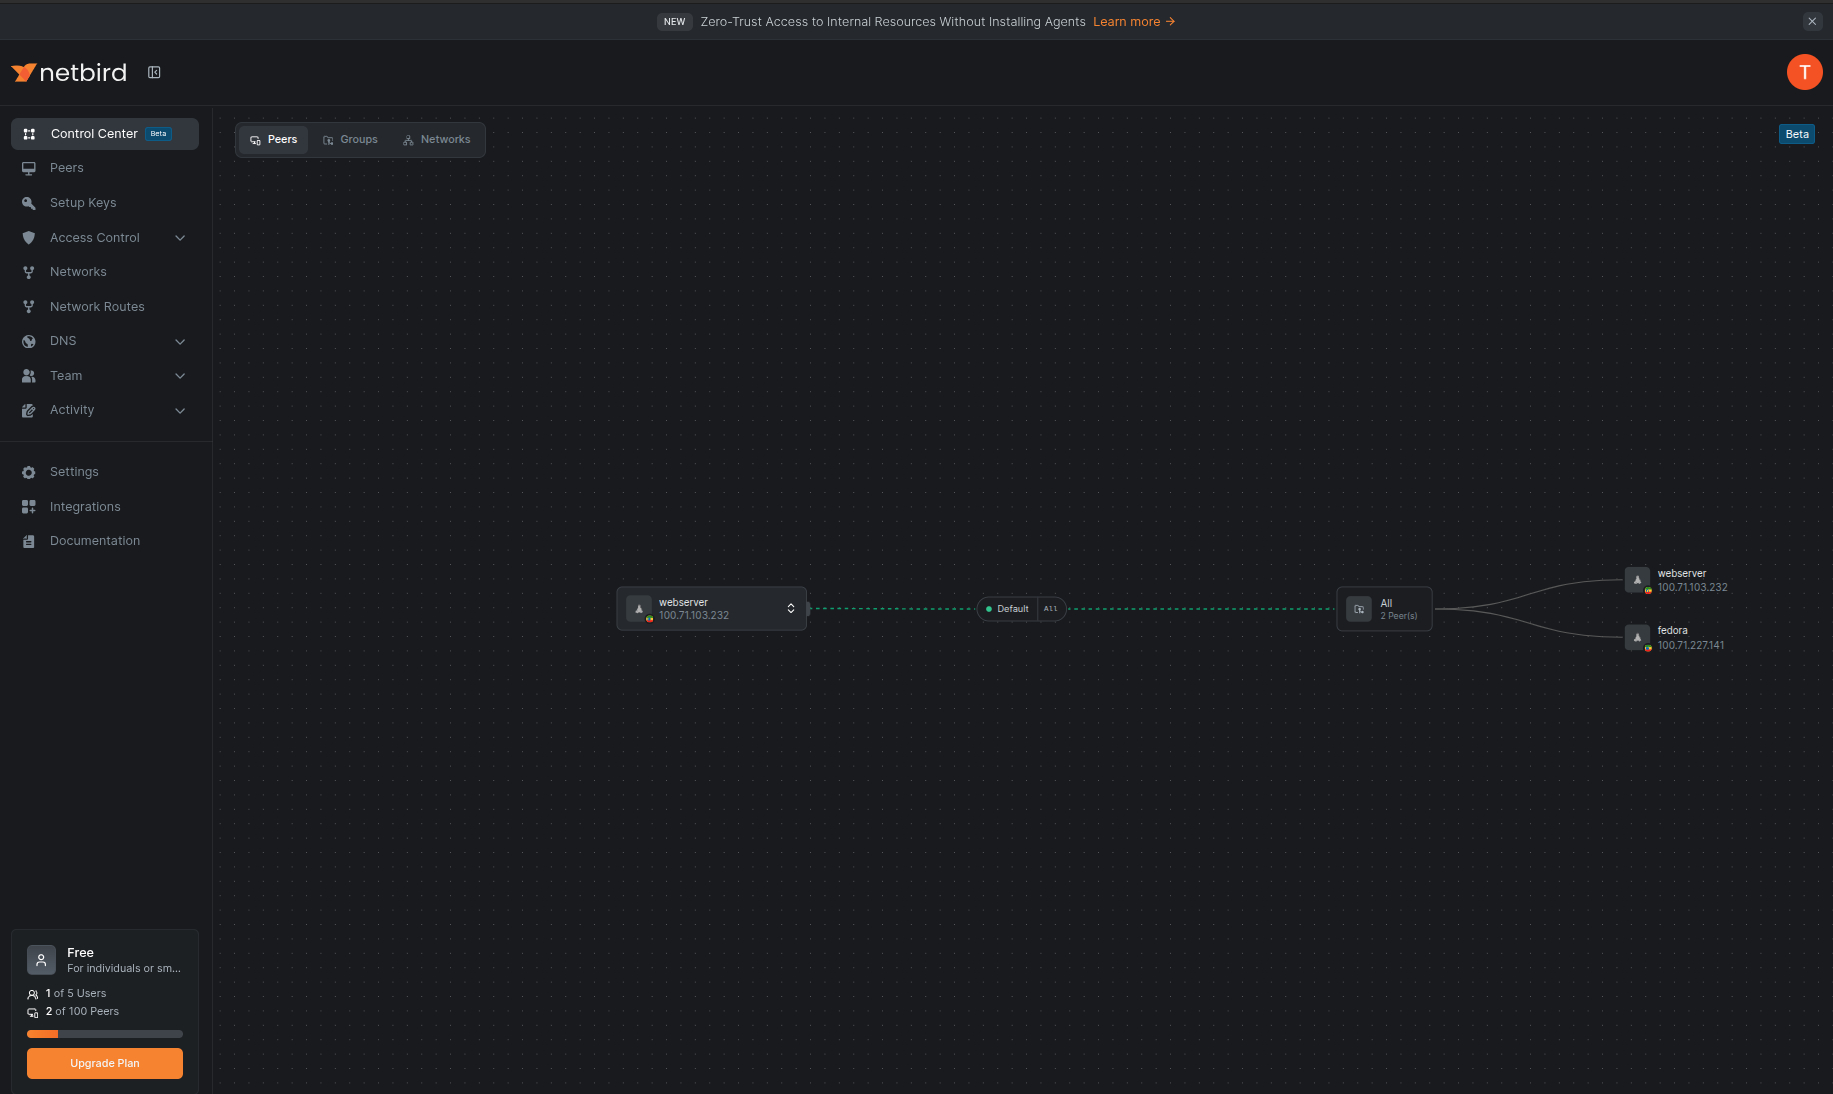
Finally, I’m taken to a clean and intuitive control center dashboard.
Testing Mesh Connectivity Between Devices
I now have two devices on my NetBird network:
- My cloud-hosted web server
- My remote laptop connected to a 4G network
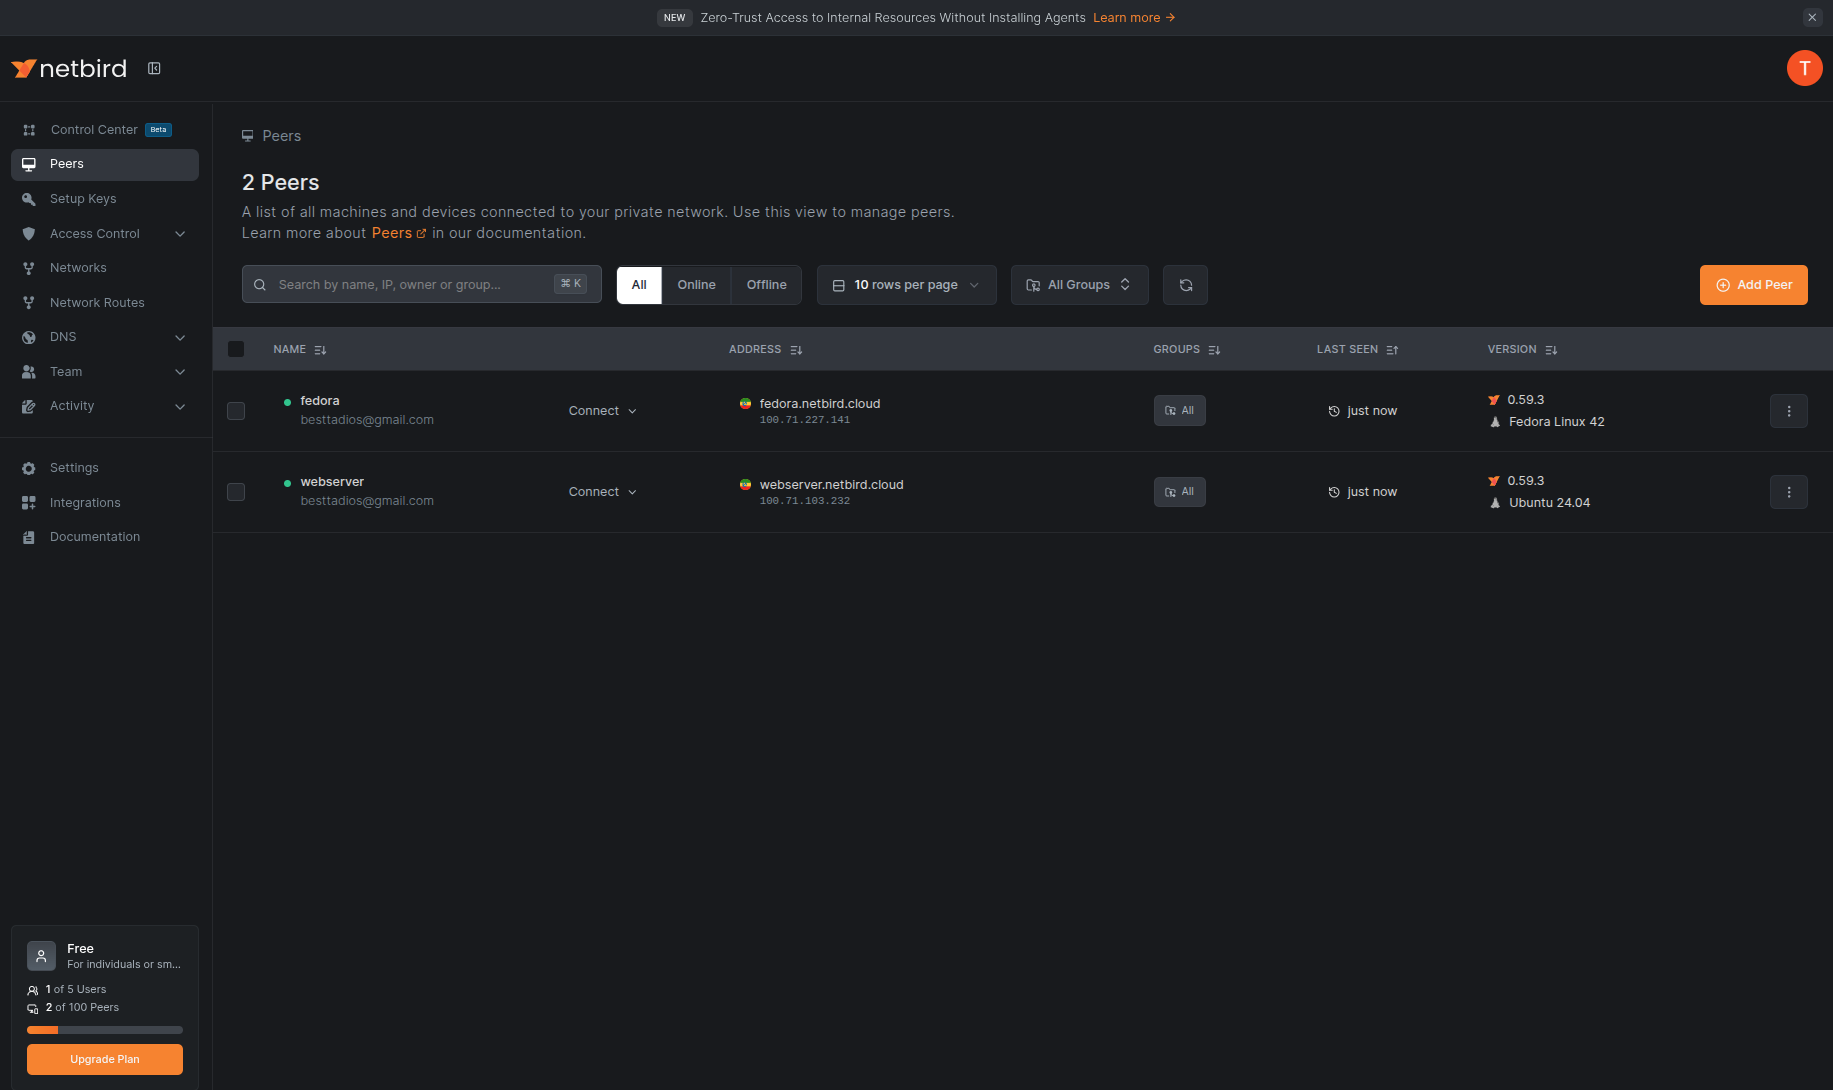
As shown below, mesh connectivity between my cloud web server and my remote machine is working in both directions:
nzt@fedora:~$ ping webserver.netbird.cloud
PING webserver.netbird.cloud (100.71.103.232) 56(84) bytes of data.
64 bytes from webserver.netbird.cloud (100.71.103.232): icmp_seq=1 ttl=64 time=403 ms
64 bytes from webserver.netbird.cloud (100.71.103.232): icmp_seq=2 ttl=64 time=375 ms
64 bytes from webserver.netbird.cloud (100.71.103.232): icmp_seq=3 ttl=64 time=321 ms
64 bytes from webserver.netbird.cloud (100.71.103.232): icmp_seq=4 ttl=64 time=366 ms
--- webserver.netbird.cloud ping statistics ---
4 packets transmitted, 4 received, 0% packet loss, time 3003ms
rtt min/avg/max/mdev = 320.905/366.292/402.897/29.482 ms
root@webserver:~$ ping fedora.netbird.cloud
PING fedora.netbird.cloud (100.71.227.141) 56(84) bytes of data.
64 bytes from fedora.netbird.cloud (100.71.227.141): icmp_seq=1 ttl=64 time=318 ms
64 bytes from fedora.netbird.cloud (100.71.227.141): icmp_seq=2 ttl=64 time=392 ms
64 bytes from fedora.netbird.cloud (100.71.227.141): icmp_seq=3 ttl=64 time=388 ms
64 bytes from fedora.netbird.cloud (100.71.227.141): icmp_seq=4 ttl=64 time=366 ms
--- fedora.netbird.cloud ping statistics ---
4 packets transmitted, 4 received, 0% packet loss, time 3003ms
rtt min/avg/max/mdev = 320.905/366.292/402.897/29.482 ms
NetBird also provides powerful features such as access control policies, network routing, and DNS integration, all managed through its intuitive web interface.
NetBird Connection Information and Troubleshooting
NetBird operates similarly to Tailscale in terms of connection handling. If two peers can establish a direct connection, traffic flows peer-to-peer. If not, NetBird automatically relays the traffic through one of its relay servers.
You can inspect detailed connection information using:
netbird status --detail
Example output:
nzt@fedora:~$ netbird status --detail
Peers detail:
 webserver.netbird.cloud:
  NetBird IP: 100.71.103.232
  Public key: uPvow4SLWaD83nqpbVT8/sOU5yvBx8QdOKyOmmEgZFk=
  Status: Connected
  -- detail --
  Connection type: Relayed
  ICE candidate (Local/Remote): -/-
  ICE candidate endpoints (Local/Remote): -/-
  Relay server address: rels://streamline-ap-south-1b.relay.netbird.io:443
  Last connection update: 26 minutes, 14 seconds ago
  Last WireGuard handshake: 21 seconds ago
  Transfer status (received/sent) 5.7 KiB/4.6 KiB
  Quantum resistance: false
  Networks: -
  Latency: 0s

Events:
  [INFO] SYSTEM (75799f97-1dc2-49a5-b82c-6a3e7befe249)
    Message: Network map updated
    Time: 3 hours, 39 minutes ago
  [INFO] SYSTEM (57754473-f0b9-414c-8c38-2b9419f077fb)
    Message: Network map updated
    Time: 3 hours, 37 minutes ago
  [INFO] SYSTEM (eadf64c9-7042-46e6-83dc-102551dfb050)
    Message: Network map updated
    Time: 3 hours, 37 minutes ago
  [INFO] SYSTEM (f9ffe91f-abc8-44a1-ab1a-ecbf00366d6c)
    Message: Network map updated
    Time: 3 hours, 35 minutes ago
  [INFO] SYSTEM (0beee4ac-3ce8-40ab-8781-12be859c1b89)
    Message: Network map updated
    Time: 3 hours, 35 minutes ago
  [INFO] SYSTEM (7aa66bb8-f010-4f34-9623-ed988a53daa9)
    Message: Network map updated
    Time: 3 hours, 30 minutes ago
  [INFO] SYSTEM (f616be17-167a-4885-b4a7-0ad8f3494c0d)
    Message: Network map updated
    Time: 3 hours, 13 minutes ago
  [INFO] SYSTEM (b9f15950-dae2-4451-9509-1d16a3e43ed2)
    Message: Network map updated
    Time: 3 hours, 13 minutes ago
  [INFO] SYSTEM (c0848a1f-06a9-4126-951e-a49865e2a330)
    Message: Network map updated
    Time: 3 hours, 3 minutes ago
  [INFO] SYSTEM (7fbfc90f-1639-4e83-b2f4-cb789df3cb5b)
    Message: Network map updated
    Time: 26 minutes, 15 seconds ago
OS: linux/amd64
Daemon version: 0.59.3
CLI version: 0.59.3
Profile: netbird
Management: Connected to https://api.netbird.io:443
Signal: Connected to https://signal.netbird.io:443
Relays:
  [stun:stun.netbird.io:443] is Available
  [stun:stun.netbird.io:5555] is Available
  [turns:turn.netbird.io:443?transport=tcp] is Available
  [rels://streamline-ap-south-1a.relay.netbird.io:443] is Available
Nameservers:
FQDN: fedora.netbird.cloud
NetBird IP: 100.71.227.141/16
Interface type: Kernel
Quantum resistance: false
Lazy connection: false
Networks: -
Forwarding rules: 0
Peers count: 1/1 Connected
The information includes peers in your NetBird network, their NetBird IPs, public keys, connection statuses, connection types, and other useful details. Just like I demonstrated in the Tailscale post, the connection type field reveals whether your traffic is P2P or relayed. Peer-to-peer connections may have difficulty establishing if your devices are behind restrictive firewalls or symmetric NATs.
NetBird also stores detailed log information for troubleshooting under /var/log/netbird (on Linux). Additionally, they provide a comprehensive troubleshooting guide at: https://docs.netbird.io/how-to/troubleshooting-client
That’s it, we were able to establish secure connectivity in just a few minutes, without complex configuration steps.
Self-Hosting the NetBird Control Plane
One thing that makes NetBird stand out from Tailscale is that you can self-host the control plane, making your mesh network completely independent of the NetBird SaaS service.
Setting up a self-hosted control plane takes just a few minutes. You only need:
- A virtual machine with 1 vCPU, 2GB RAM, and a public IP Or a private machine with port forwarding enabled
- To host NetBird yourself, forward the following ports to your NetBird server:
- TCP Ports: 80, 443, 33073, 10000, 33080
- UDP Ports: 3478, 49152–65535
- Ensure these ports are open on your firewall, and point a public domain (e.g. netbird.example.com) to your NetBird server.
- Then, install Docker and the required dependencies (curl and jq), and execute the following installation script, replacing the domain with your own:
export NETBIRD_DOMAIN=netbird.example.com; curl -fsSL https://github.com/netbirdio/netbird/releases/latest/download/getting-started-with-zitadel.sh | bash
This quickly deploys your own NetBird control plane, allowing you to create, manage, and monitor your private overlay network independently.
It’s worth reviewing the previous posts for a deeper understanding of how these mesh VPNs work.